Friday, December 30, 2011

Field Trip to the Grappa Museum


Before moving to Italy I had not heard of Grappa.  And even after living here for 4 years, learning about Grappa has never been on my "to do" list, but sometimes you end up doing unexpected things, like touring the Poli Grappa Museum.  And on occasion, you even end up enjoying the unexpected, and learning new something along the way.  


The Poli museum is located just south of the wall cited of Marositica.  It offers an excellent history of both Grappa and the entire distillation process, presented both in Italian and English.  The museum itself is a beautiful building full of copper Grappa making equipment and very well written explanations of both the history and process of making Grappa.   
Do you know about Grappa? It is a potent alcoholic drink made from the distillation of grape marc, the grape skins, pulp, and seeds leftover after the grapes have been pressed during the wine making process. It is very popular here in the Veneto region, and after yesterday's field trip to the Poli Grappa Museum I now have a deeper understanding and appreciation for Grappa, even if I am still not a fan of the taste.  


The first room of the museum gives a thorough history of the distillation process.  Thousands of years before distillates were enjoyed as beverages, they were used as essential oils and medicines.  
  
As you venture further into the museum a complete explanation of the distillation process accompanies beautiful copper distilleries.  
The process begins by heating the fermented grape marc.  Alcohol and volatile oils have lower boiling points than water, and therefore evaporate first.  The evaporate is collected in copper tubing and cooled back down to its liquid state.  The liquid is then collected in large containers.  
.  
 

On the second floor of the museum offers its visitors an eloquently written Poli family history. The Poli family began making Grappa in 1898, and is still making Grappa today. Grappa making is clearly a family passion.  The contraption pictured below is a modified locomotive steam engine converted to make a portable distillery once used by the Poli family.  


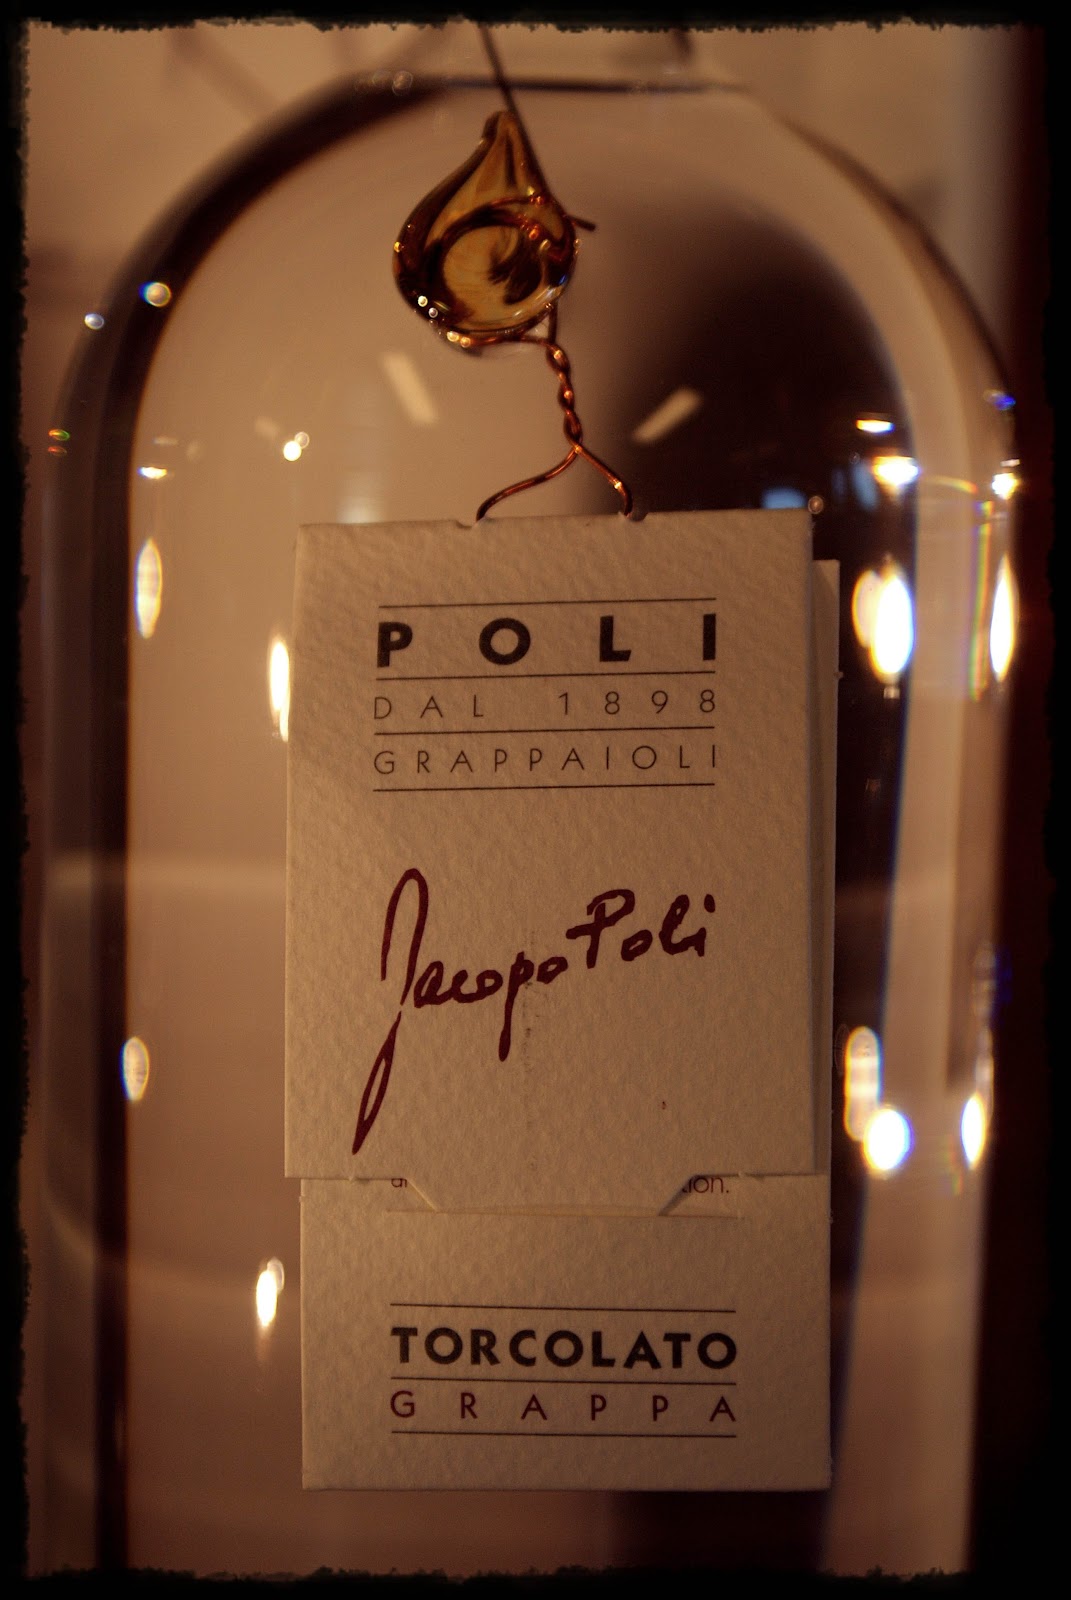
The final room of the museum is dedicated to an extensive Grappa bottle collection. Grappa bottles line lighted shelves showcasing a variety of Grappa bottles shapes and displaying all the various labels. 


Thinking of making your own Grappa?  Think again, by law Grappa is exclusive produced in Italy through the direct distillation of grape marc.  And apparently it is no easy task to make a distillate from the solid grape marc, but rather takes years of experience.  


From the words of Jacopo Poli, " I am determined to continue the tradition and to make people understand and appreciate the hard work, the constancy but, above all, the kind of Love which is part of a Distillate, a total Love for our art, for our world, a Love without which nothing would be possible."


You can really work up an appetite touring the Grappa museum.  A light Pizza lunch is recommended.
   

And after touring the museum, a visit to the town of Bassano del Grappa is a must. 

The Brenta River at Dusk
If you would like to learn more about Grappa and the Grappa making process please visit grappa.com and poligrappa.com.

Sunday, December 25, 2011

The Reindeer's Pajamas

 We have a very BIG Rudolf fan in our family.  For the last 5 years, nearly every night at bedtime, we sing "Rudolf the Red-nosed Reindeer."  Bouncing Boy's favorite "pet" is none other than a beanie reindeer named, you guessed it... Rudolf.  Rudolf has gone everywhere with the family, and dutifully kept the peace at bedtime for most of Bouncing Boy's life.  Last year, there was a request for Rudolf pajamas that I ignored.  Monkey had pajamas and I was running behind on getting all my holiday projects finished so I did not make reindeer pajamas.  This year it occurred to me, someday I will no longer hear requests for things like Mommy-made Rudolf pajamas....so this year Rudolf got his pajamas.  Turns out taking time for the seemingly silly requests makes for one really happy Boy and his reindeer. 


I hope all of your Holidays are filled with love and laughter.   

Thursday, December 22, 2011

Happy Winter Solstice!

What a beautiful first day of winter!  It is cold, but sunny, with frost on the ground and thin sheet of ice near the shore of the lake. I walked down to the lake this morning with my father-in-law and then up, up, up the hill again.  Thought I would share some of the winter beauty with you.  
Boats in the Ice

Chickens Scratch in the Winter Sun

The Clear Blue Sky

These are tracks etched into the stone!  How many carts do you think traveled this road?

L-O-N-G Winter Shadows

Ruins with a View
Wishing you all a very Merry Solstice!

Wednesday, December 21, 2011

Painted Flower Pots

Last winter I painted terracotta pots to look like snowmen heads.  Inside the pots I planted spring bulbs,  some with daffodils, and some with hyacinths.  Left indoors the bulbs bloom early and Spring flowers get to be enjoyed a little bit ahead of the game.  The pots were painted with acrylic paint, a little glitter was added, because....well you really don't need an excuse to add glitter.  A green velvet ribbon hat band was glued to the pot and a bow or flower added for a little extra holiday cheer.  There is something extra fun about watching flowers emerge, grow, and bloom inside when it is still too chilly for spring flowers outside.  

This year I let the kids paint, they love to paint flower pots.  It is an activity we normally enjoy doing on the Vernal Equinox, but this year I gave them pots to paint for their teachers as Christmas gifts.  Once they were painted we placed poinsettias inside the pots.  It is my hope the children grow up understanding the joys creating and giving handmade gifts.  

I have saved a few of my favorites Equinox pots the kids created.  They remind me of fun times as well as make handy storage containers.  I keep them up on a high shelf with really dangerous objects stored inside...like Shapies.  

Monday, December 19, 2011

Rag Stockings

My mother learned to sew making what she called "Rag Quilts."  While she was visiting over the Summer she shared the technique with me.   Turns out this is an excellent way to practice sewing a straight stitch without worrying about precisely lining up the edges of two pieces of fabric.  It is an excellent way for someone just learning to sew to get the feel for the a sewing machine.  I thought it would be fun to use the same technique to make stockings.  The stocking pictured above was made using old blue jeans, an old sweater, and was lined with an infant sized towel I found in the linen closet.  

The following is a tutorial for making a "Rag Stocking."  In the tutorial I used various Holiday prints I had leftover from previous projects. 

 To begin draw a stocking shape on a piece of paper.  Apparently I like pointed toe stockings, as I just noticed every stocking I've ever made has a pointed toe.  Two things to consider when finalizing your shape, you need to include seam allowance in the shape (I used 1/2"), and if you are planning to turn the top edge down, like I did in the examples, you need to add extra to the top ( I used 3").  Once you have a shape you are pleased with, cut the shape out.  Next, trace the stocking shape onto a slightly larger piece of paper.  
Cut strips of fabric to use on the front of your stocking.  Use the stocking shape on the larger paper to get a feel for how many and how wide you would like your strips of fabric to be.  
 Sew the first strip of fabric to the toe of the paper stocking.  Try to sew straight along the edge the of the fabric.  I use the edge of the presser foot as a guide (about 1/4 of an inch).  
 Decide the location of the next strip, in this example it is the red piece of fabric.  It is not important that the edges of the first and second strip line up.  In fact part of the fun of this techniques is the ease at which you can create interesting angles.  
 Flip the strip over, so the right sides of the fabric are facing together.   
 Stitch down the piece, following the edge of the top strip of fabric.  After the piece has been stitched, carefully press the strip over and down flat. 
 Continue on with the third strip of fabric.  Decide on the placement.
 Flip the strip over, and sew along the edge of the top strip.  
 Carefully press the new strip down flat.  
 Continue in the same manner as you work your way up the stocking.  Sew a new strip on, and then press.  
 Once your entire stocking piece has been covered, remove the paper from the back side.  
Using your original stocking shape, cut out two stockings for the inside lining and one for the back of the stocking.  
 With the front of your stocking facing right side up and the back of your stocking facing upside down, carefully cut the front of the stocking to the same shape as the back of the stocking. 
Stitch around the stocking at your designated seam allowance.  
 With right sides together, stitch around the stocking lining at your designated seam allowance, leaving the top of the stocking open, and an opening about 4 inches long on one side of the stocking. The opening in the stocking lining will be used to turn your stocking right side out during the final steps.  Clip the curves of the stocking so once it is turned right side out the curves will lay flat and have a nice shape.    
 With the outer stocking turned right side out and the lining turned wrong side out, place the outer stocking into the lining.  
 You will notice the right sides of the stocking are now together.  Stitch along the top edge.  Turn the stocking right side out through the opening in the lining.  Finish the stocking by either machine or hand stitching the opening in the lining closed. Add a loop to hang the stocking by, for this example I used a ribbon, for the jean and sweater stocking I used a belt loop.  
 Don't worry...I'm sure you've made it onto Santa's "nice" list.  

Thursday, December 15, 2011

Winter Pajamas...I Mean Lounge Wear

 I remember getting new flannel nightgowns at Christmas time from both my mother and my grandmother.  I remember one year in particular where I got a matching flannel nightgown for one of my many baby dolls.  It was made from white flannel covered in tiny purple rose buds, and I love, love, loved it.  I thought my children might also enjoy Christmas pajamas with matching pajamas for their special "friends".

"Monkey" and "Strawberry Cake" sporting their new pajamas.
On Baby Boy's second Christmas, even though we were in the middle of moving to Japan I managed to make several pairs of pajama bottoms for him, with matching ones for my husband and some that fit "Black Kitty" and "Baby" ( he wasn't very creative with names).  The plan at the time was to do the same every year.  But, by the time the next Christmas rolled around I was pregnant with Baby Girl and mostly just nauseous (or worse) all the time.  We had a pause in the tradition....you might even say a pregnant pause...sorry.  Last year I was back on my creative game and gave both the children new flannel pajamas....well I suppose legally we must call them lounge wear...the night before Christmas.  "Monkey" and Baby Girl's doll, "Lisa" got matching "lounge wear." 

I can't believe how long those legs are getting!
Fast forward to this year.   I found an online "Pajama Party"  and I thought it would be fun to participate.  I also thought this would be an excellent opportunity to fine tune my pattern grading skills.  So I put last year's pattern on the computer, graded it, printed it out, and voila! ...we have this year's jammies.  I was pretty stoked that it worked out...yes, these things make me very excited.  Everything went together very well and fit very nicely. There a few details I like to add.  I always add a button to the fronts of Bouncing Boys pants so he can tell the front from the back.   I cut the sleeves for Baby Girl's gowns on the bias so I can add "lettuce leafing" around the hem of the sleeve, it gives it a little extra frill.

Lettuce leafing around the sleeve
I decided to add a jammie top for Bouncing Boy this year.  All kinds of elaborate plans ran through the ol' mind.  But, no printer ink ruled out iron on transfers, everything I've painted on fabric since moving here has washed out so I crossed out that idea, and the silk screening things, however untouched they may be, are John's present from last year.  So I opted to go low tech.  I bought a white undershirt and drew on it with a blue Sharpie, then I colored on it with Crayola fabric crayons.  I decided to draw a picture of Bouncing Boy's bicycle, it goes with the bike theme on his pants, but personalized it a bit.  He was very excited I drew his bike.


So the children think they have their Christmas jammies early.....hehehe.  Little do they know I have snowman fabric waiting to be the Christmas Eve jammies.  

One last photo...last year's jammies...just to see how much they have grown!